You’ve got 40 slides, a deadline in an hour, and you can’t find the slide your teammate just asked about. You scroll up, scroll down, scroll up again. Sound familiar?
If you’ve been hunting for a “sections” button in Google Slides like the one in PowerPoint, here’s the truth: it doesn’t exist. But that doesn’t mean you’re stuck with a chaotic, unsearchable deck. With a few simple workarounds, you can organize your presentation into clear sections that are just as easy to navigate. This guide walks you through exactly how.
What are Sections in a Google Slides Presentation?
Sections in a Google Slides presentation help you organize slides into meaningful groups based on topics, themes, or chapters. They act like folders within your presentation, allowing you to easily manage large slide decks by collapsing or expanding sections, reordering entire groups of slides, and keeping your content structured. This feature is especially useful for team collaboration or long presentations with multiple topics.
Why Do Sections Matter in Google Slides?
Sections in Google Slides help bring order and clarity to your presentation, especially when working with many slides. Below are the key reasons why they matter:
- Improved organization: Group related slides for a clear and logical flow.
- Efficient editing: Move or rearrange entire sections quickly.
- Streamlined collaboration: Assign sections to different team members with ease.
- Enhanced presentation flow: Maintain smooth transitions between topics.
- Time-saving: Manage slides in bulk, reducing editing time.
How to Organize Sections in Google Slides?
Google Slides does not have a direct option to create sections like Microsoft PowerPoint. However, you can still organize your slides in a way that makes navigation easier. A simple way to do this is by grouping slides visually and using a table of contents for quick access.
Method 1: Add a Title Slide for Each Section
To separate different parts of your presentation, create a new slide for each section.
- Open your Google Slides presentation.
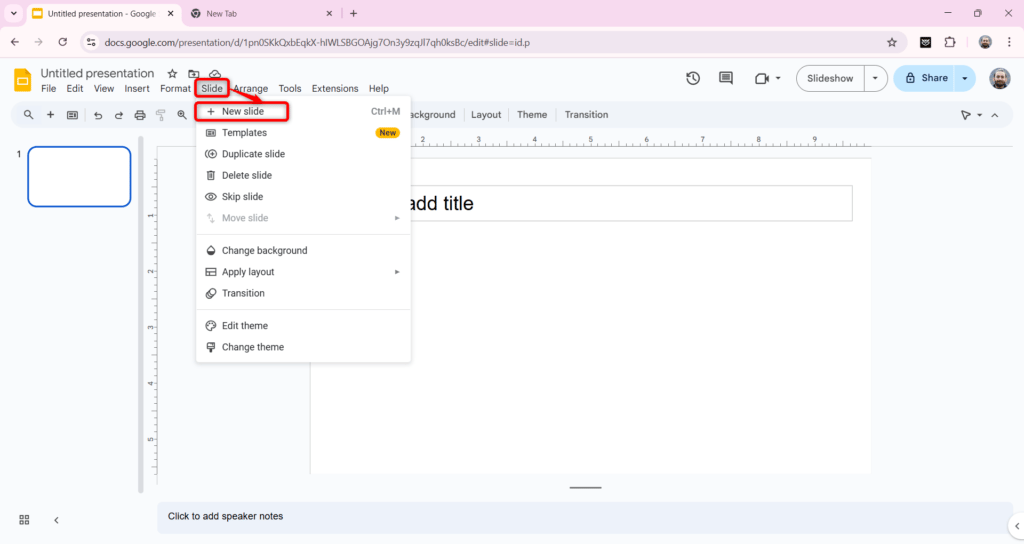
- Click Slide → New Slide to add a slide.
- Choose a title layout and type the name of the section in the title box.
This will act as a divider, making it clear when a new section starts.
Method 2: Use Colors to Group Slides
Adding colors can help you quickly identify different sections.
- Click on the section’s title slide.
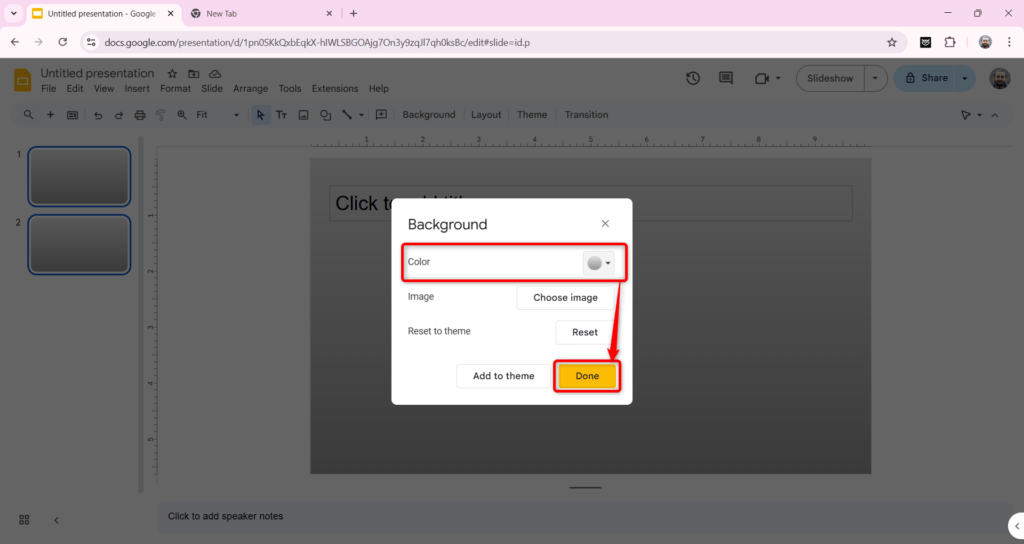
- Go to Background and choose a color that represents the section.
- Use similar colors for other slides in the same section.
For example, if one section is about forests, you can use green shades to group all related slides together.
Tip: Use the Grid View to see all slides at once. Click View → Grid View, then drag and arrange slides to keep sections together.
Method 3: Create a Table of Contents for Easy Navigation
A table of contents helps you quickly move to different sections.
- Go to the first slide of your presentation.
- Type a list of section names (e.g., “Introduction,” “Green Forests,” “Wildlife,” etc.).
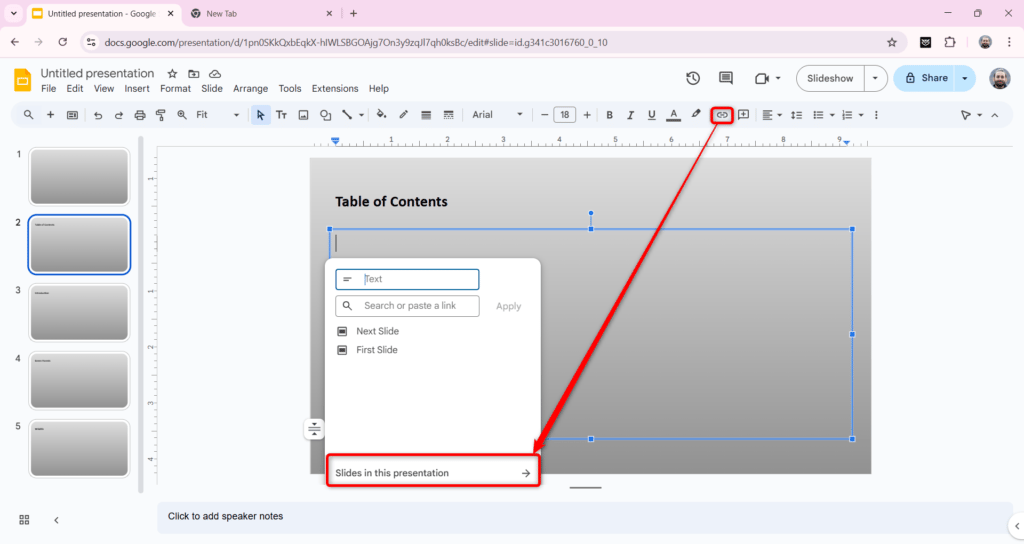
- Highlight a section name and click Insert → Link.
- Select the slide in this presentation and choose the slide where that section starts.
- Repeat for all section names.
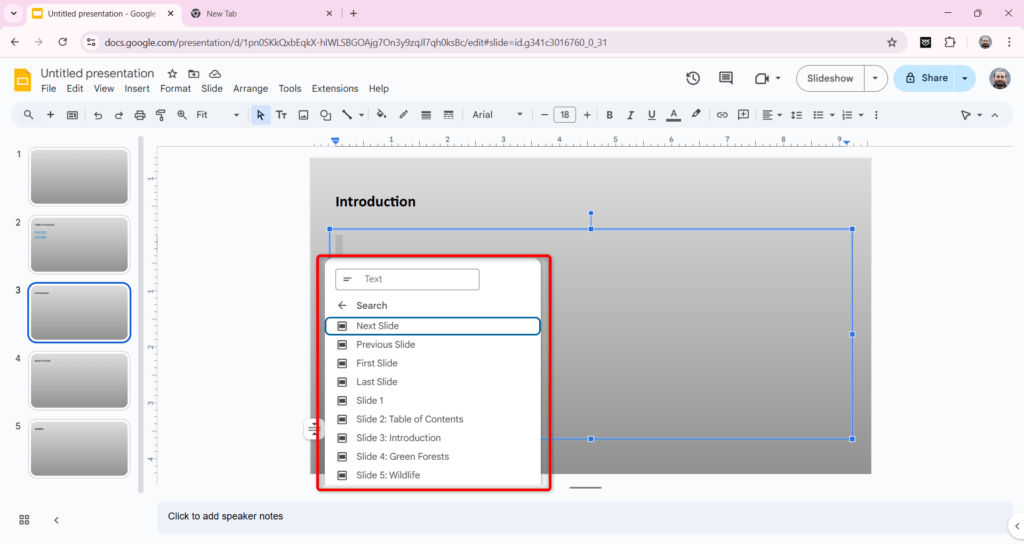
Now, clicking on a section name will take you straight to that part of the presentation, making it easier to navigate.
How can you Add Sections using SlidesAI?
Organizing your presentation into sections makes it easier to follow and more professional. With SlidesAI, adding sections is quick and straightforward using the title slide method. Here’s how you can do it step by step.
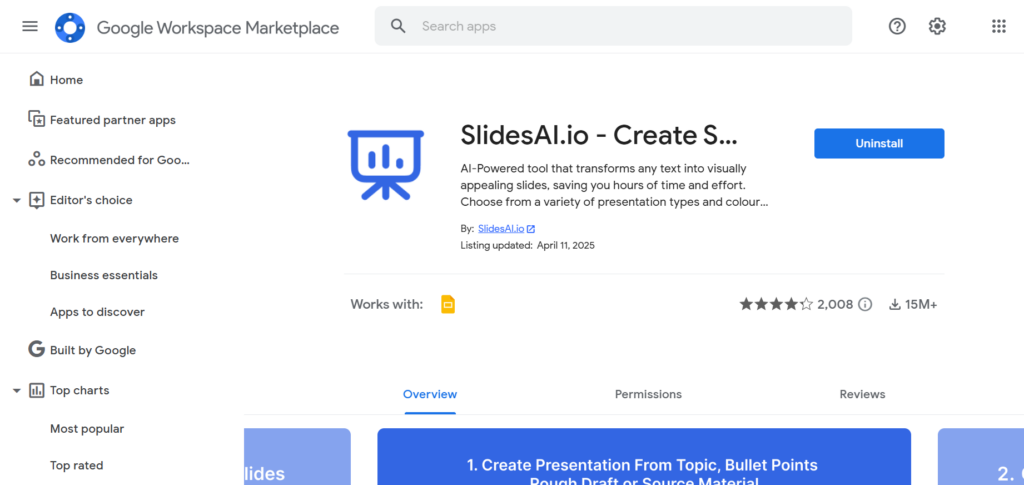
Step 1: Open Google Slides and install the SlidesAI Add-on, or you can use SlidesAI web application. Then log in or create a SlidesAI account.
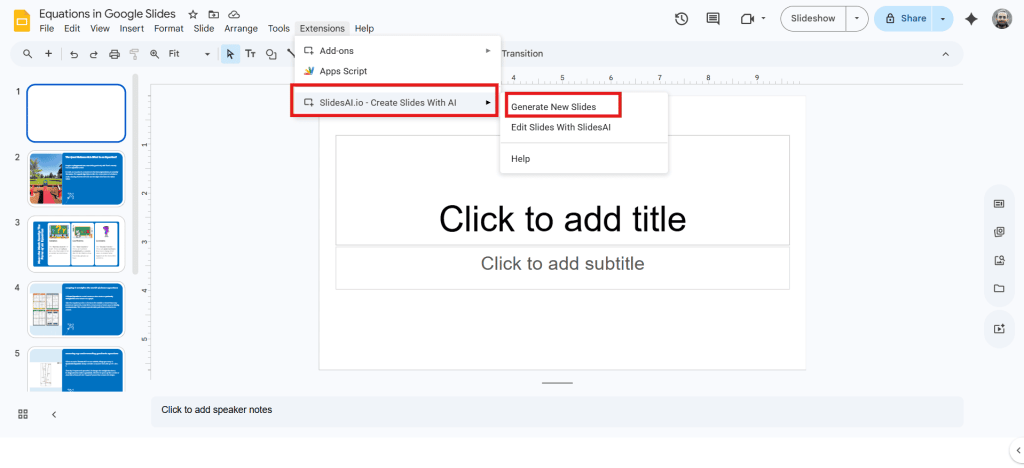
Step 2: After setting up the SlidesAI account. Go to Extensions > Slidesai.io – Create Slides with AI > Generate New Slides.
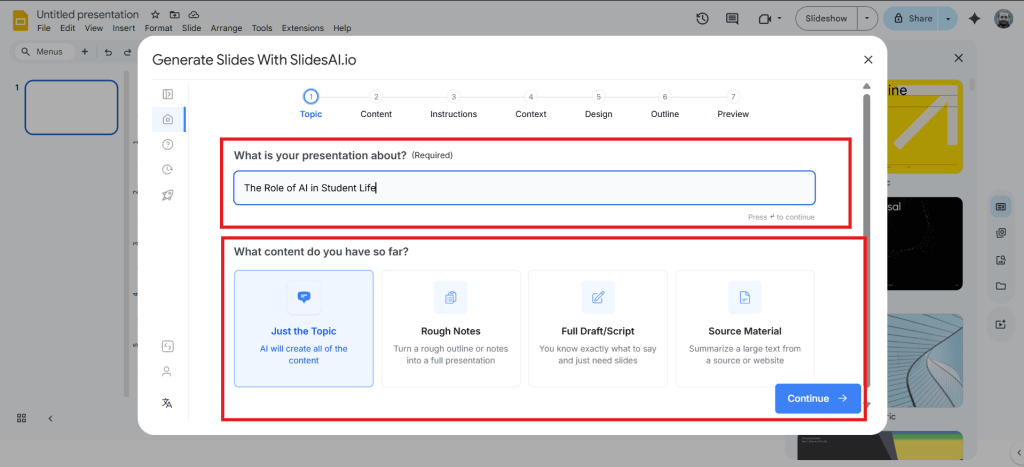
Step 3: Type in your presentation topic. For example: “The Role of AI in Student Life.” Select any one option:
- Just the topic: If you have the topic on which you want your presentation, SlidesAI will create the whole presentation, including the content and design.
- Rough Notes: If you have notes that you want to convert in presentation.
- Full draft: If you have the script or the content ready for your presentation, SlidesAI will format and design your presentation.
- Source material: If you have a source material like large content from a website page, SlidesAI will refer to it and create a presentation
Step 4: Pick your Presentation Type, Audience, Tone, and Language from the options given.
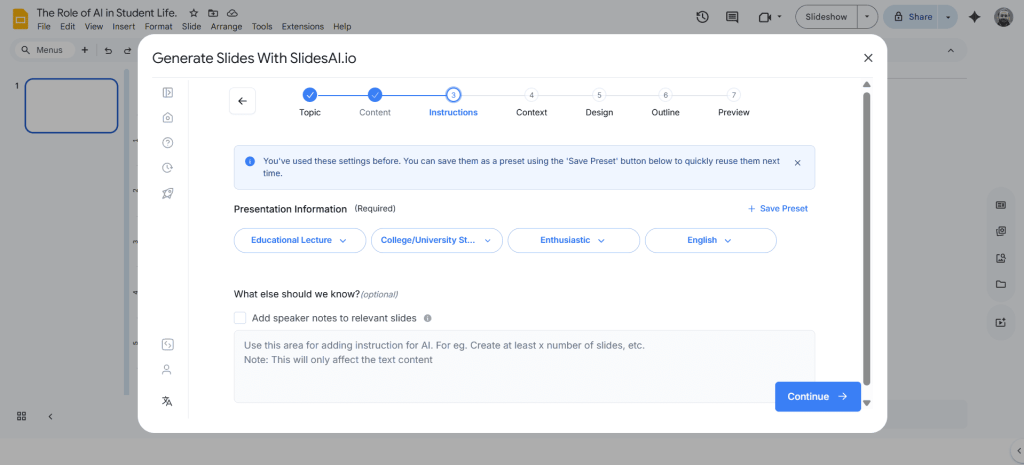
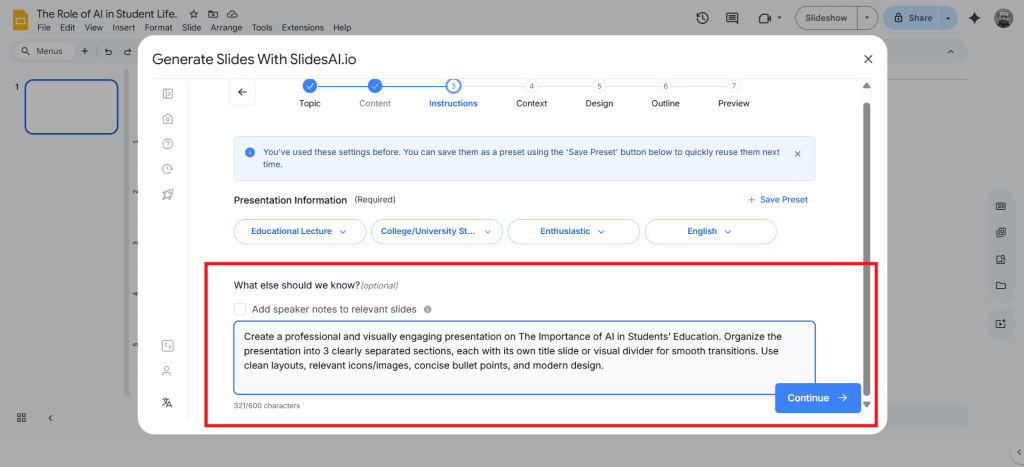
Step 5: In the “What else should we know?” box, add any extra instructions to add sections in the presentation.
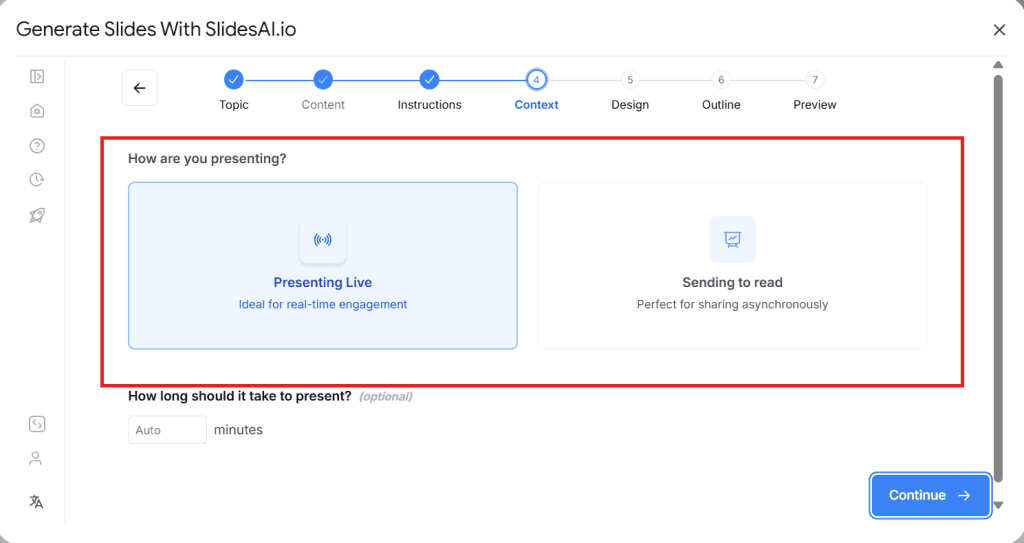
Step 6: Choose how you’d like to present — pick the style that works best for you.
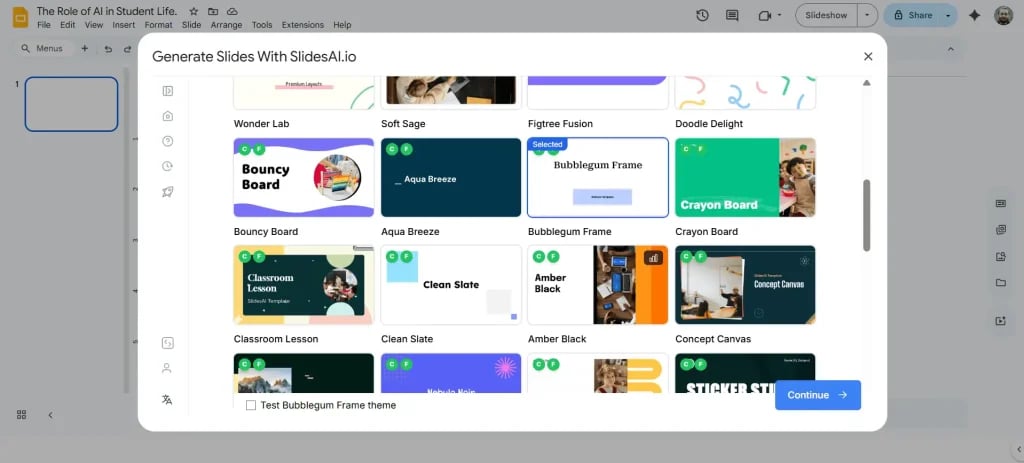
Step 7: Browse through the available templates and select the one you like.
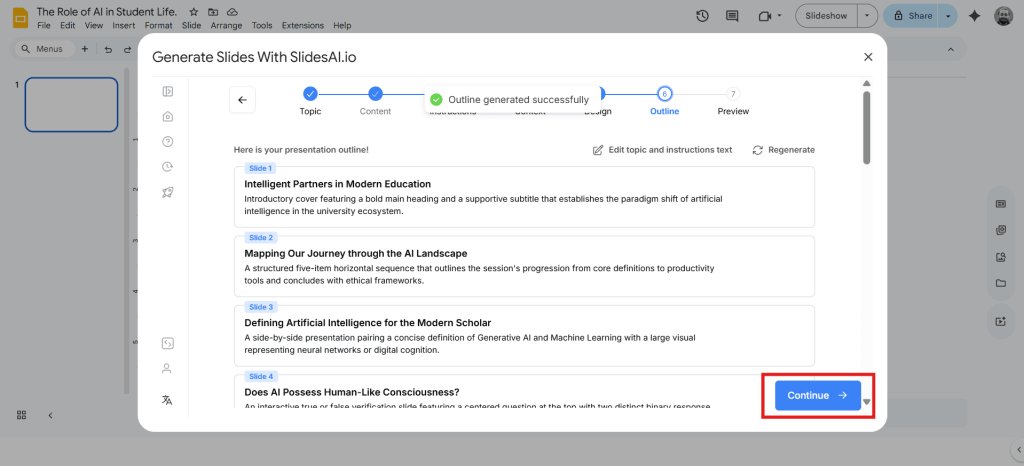
Step 8: SlidesAI will create an outline for your presentation. Read through it and make any changes if needed.
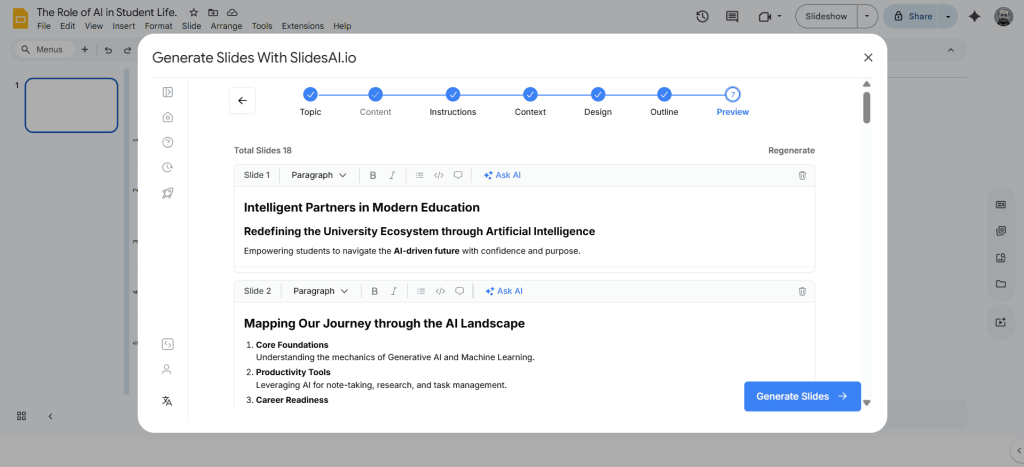
Step 9: Once you’re happy with the outline, SlidesAI will generate the full content. Give it a quick review, then hit “Generate Slides.”
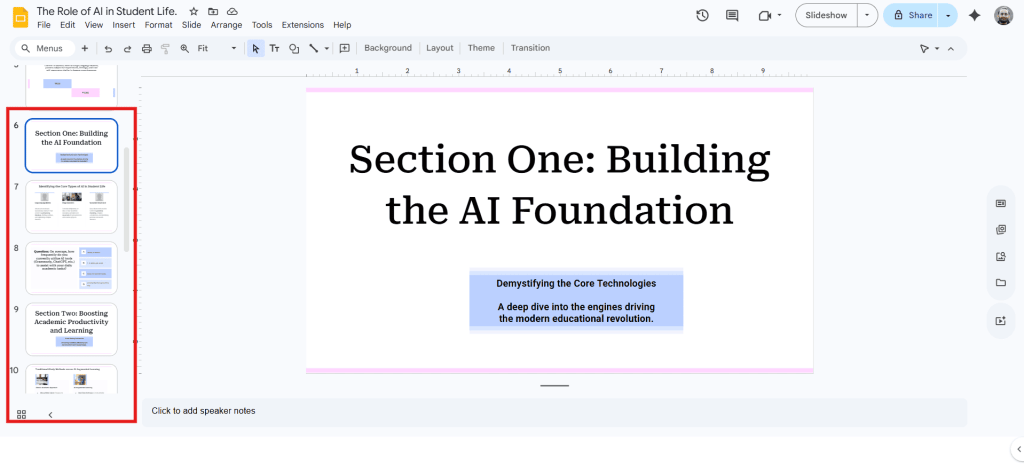
Step 10: Your presentation is ready! SlidesAI will add a title slide for each section.
Create Presentations Easily in Google Slides and PowerPoint
14M+Installs

Closing Thoughts
Breaking your presentation into sections helps keep things clear and easy to navigate. Even without a built-in feature, using title slides, colors, and a table of contents does the job well. A little effort in organizing makes a big difference in how smoothly everything flows.
Once you’ve mastered slide sections, take your presentations further with our ready-to-use AI presentation templates.
Frequently Asked Questions About Creating Sections in Google Slides
Can I create true collapsible sections in Google Slides like in PowerPoint?
No, Google Slides does not currently support built-in collapsible sections in the same way that Microsoft PowerPoint does. You’ll need to use visual workarounds (such as divider slides or colour coding) to mimic sections.
What’s the easiest method to divide a Google Slides presentation into sections?
One simple method is to insert a dedicated “section header” slide before a group of slides, apply consistent formatting or background colour to that group, and optionally build a clickable table of contents linking to each section start.
Do I need an add-on to create sections in Google Slides?
No, you don’t need an add-on to create sections in Google Slides. You can organize slides using divider slides, color themes, or a linked table of contents to separate and manage different parts of your presentation.
How do I quickly navigate between sections in Google Slides?
You can add a table of contents slide with links to different section slides. Clicking the linked text during presentation or editing mode will jump directly to that part of the deck.
Can I rearrange slides between sections in Google Slides?
Yes. You can drag and drop slides in the left sidebar or Grid View to move them between different sections or reorder them within the presentation.
How can I visually separate sections in a Google Slides presentation?
You can use section divider slides, consistent background colors, unique layouts, or icons to visually signal when a new topic or section begins.
Can multiple people manage different sections in Google Slides?
Yes. When collaborating, teams can assign specific sections or groups of slides to different contributors, making it easier to work on large presentations together.